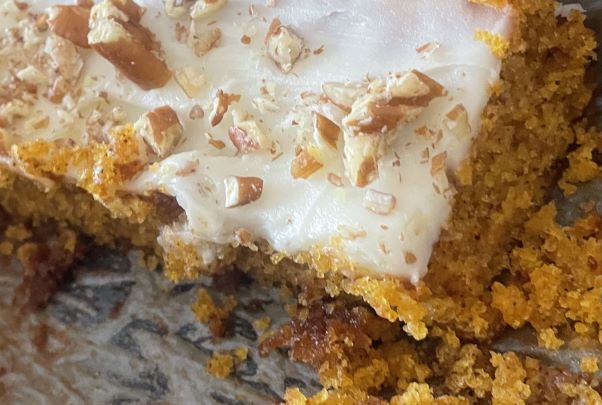
This recipe is inspired by my Sheet Pan Silky Carrot Cake Bars. I aimed to create cupcakes with reduced sugar content. However, the 1/4 cup of sugar, along with the apricot jam I used, did not yield the desired sweetness. Therefore, I prepared a simple syrup to soak the cupcakes, which worked so well that it led to the creation of a new recipe.


Ideas, Advice and Suggestions
Granulated sugar - I use white granulated sugar in both the cake and the syrup, but light brown sugar could also be used.
Smooth Apricot Jam – any smooth jam will work. This recipe calls for just a 1/4 cup of sugar, which, combined with the syrup, creates the perfect level of sweetness for my taste. (Optional, but it may taste salty without it, as my carrot puree recipe tends to be on the salty side.)
Canola oil – almost any oil mild flavoured oil can be used.
Large eggs – Large, e-Large or Jumbo will all work
fine.
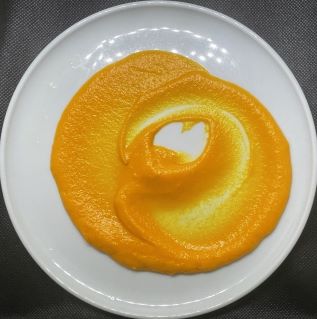
Silky smooth carrot puree – The original recipe I followed included carrot baby food, which you could use, but I now use this recipe for Silky Smooth Carrot Puree Recipe. When carrots are inexpensive, prepare a large batch of carrot puree and freeze. Thaw as needed for various recipes that call for carrot puree.
Woolworths Free from Gluten All Purpose Flour - A staple in my home that I've found to be the best gluten-free wheat flour replacement. It can be substituted with regular all-purpose wheat flour for those who are not adhering to a gluten-free diet.
Baking powder and Baking Soda – Both appear to be essential for perfecting this cupcake.
Ground Cinnamon – It can be customized to suit your preferences.
Nutmeg – You may choose to omit it if you prefer. If you do decide to use it, be cautious with the quantity as nutmeg can be overpowering.
Salt – Salt is an important ingredient in any cake.
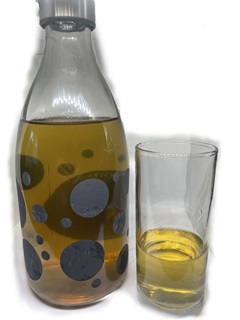
Water – Equal amounts of sugar and water make up the syrup
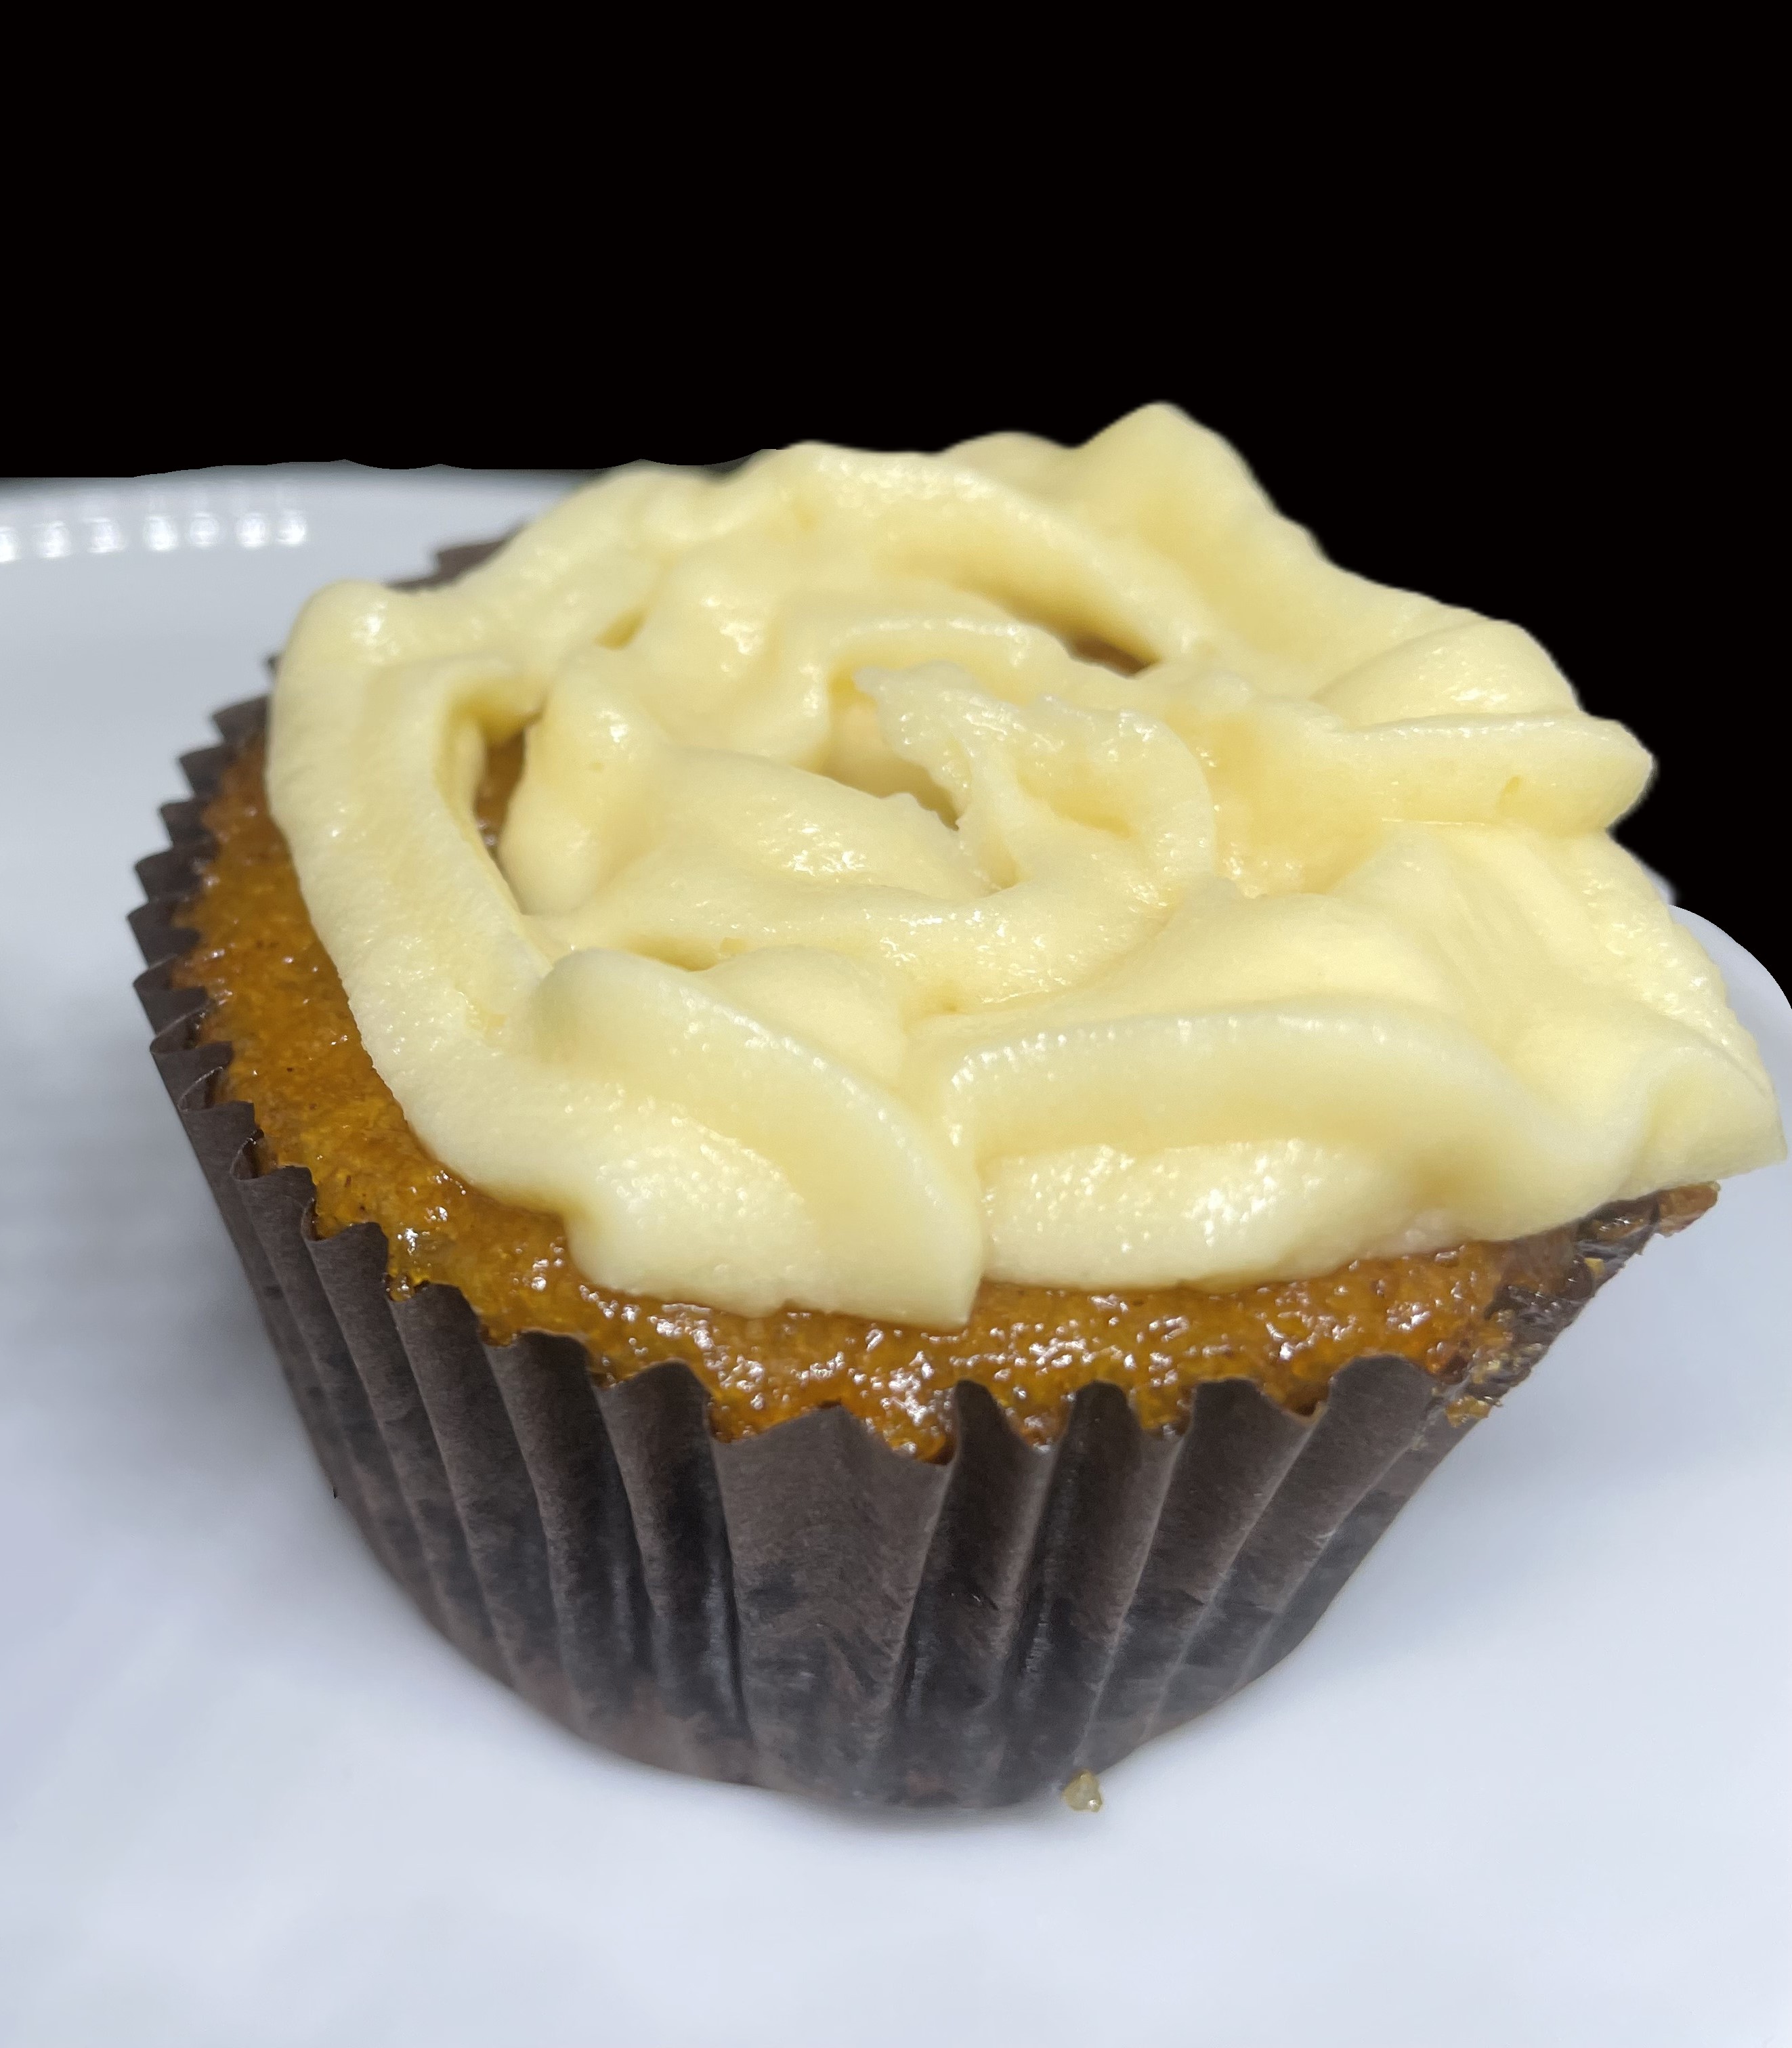
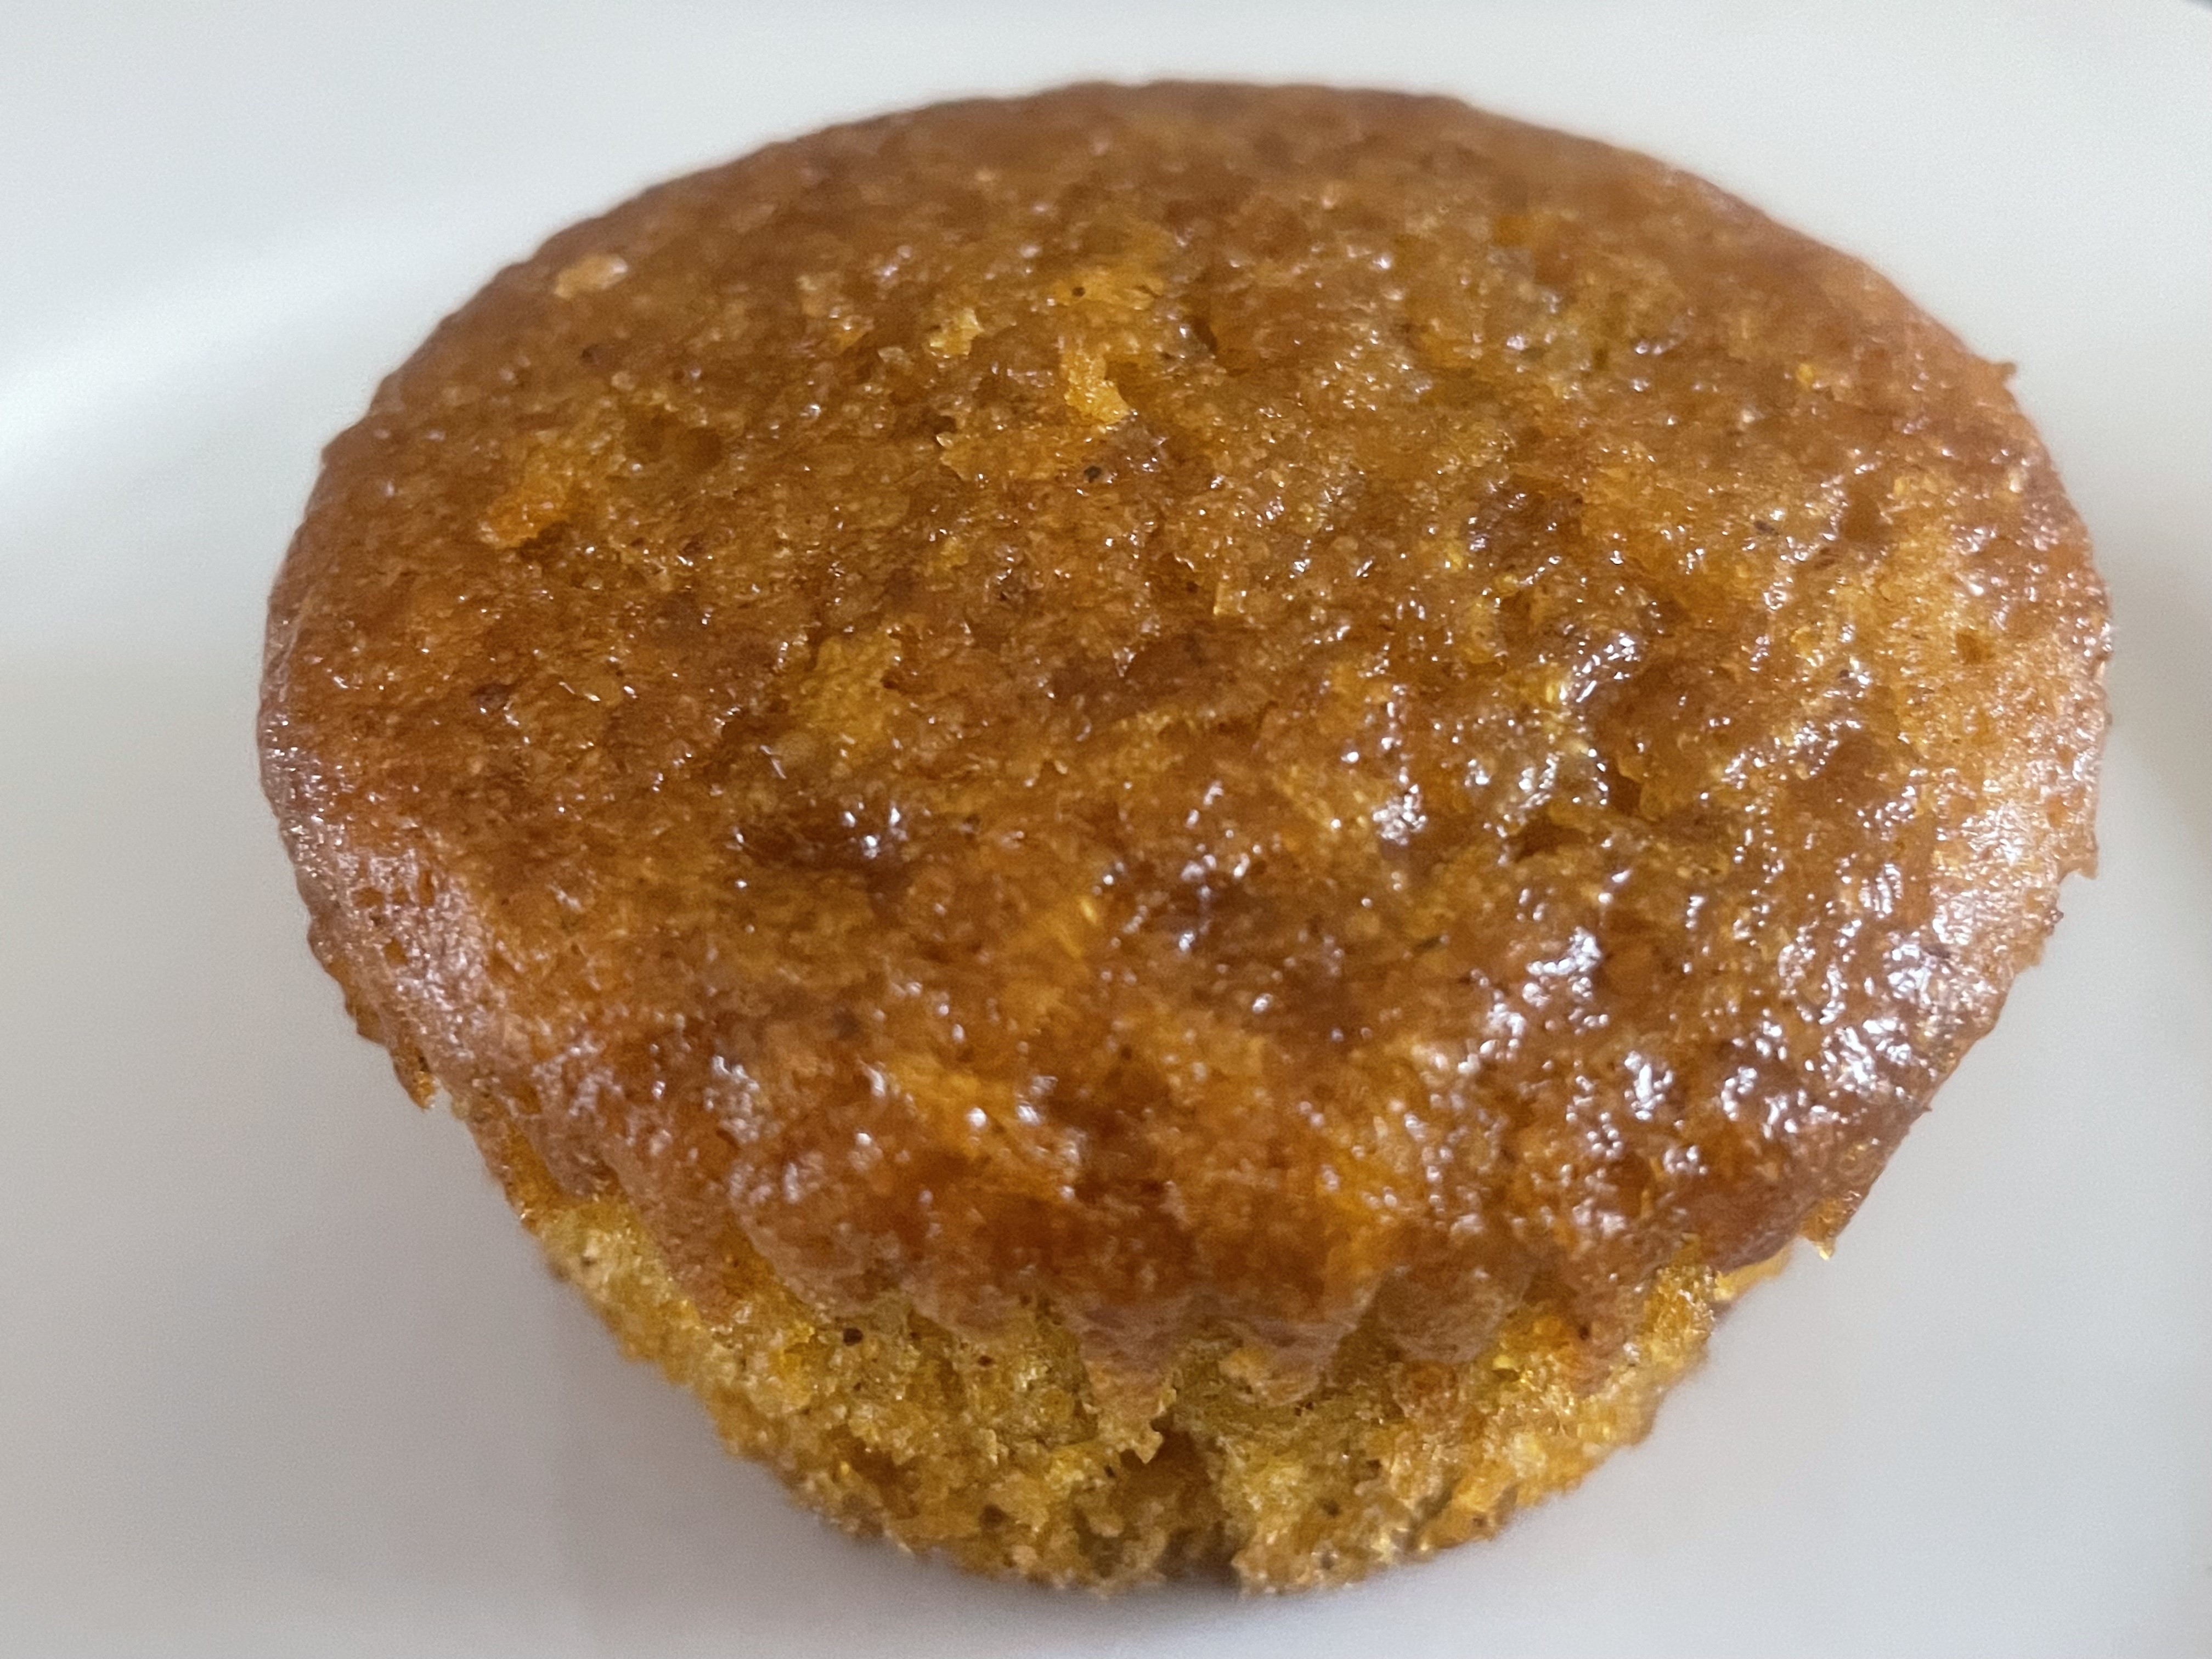
Soaked Silky Carrot Cup Cakes
Preparation Time: 10 min
Cook Time: 25 min
Total Time: 35 min
Servings: 10
Level of Difficulty: Easy
The Origin of the Recipe: togetherasfamily.com
Diet: Gluten Free
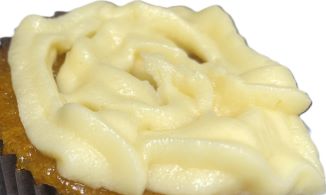
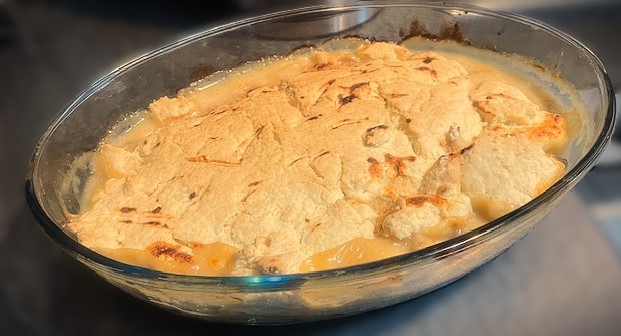
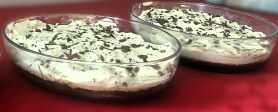
A cupcake drenched in simple syrup becomes an exquisite delight, particularly when topped with a generous spoonful of custard.
Ingredients
Carrot Cup Cakes
- ¼ cup 50g granulated sugar
- 2 tablespoons smooth apricot jam
- ¼ cup canola oil
- 1 large egg
- 90g silky smooth carrot puree(This is my recipe Silky Smooth Carrot Puree Recipe)
- ¼ cup 65g Woolworths gluten free flour
- ½ teaspoon baking powder
- ½ teaspoon ground cinnamon
- Pinch nutmeg (optional)
- ⅛ teaspoon baking soda
- ⅛ teaspoon salt
- ½ teaspoon vanilla essence
Simple Syrup
- ⅓ cup sugar
- ⅓ cup water
Instructions
- Heat oven to 320°F/160°C. Put 10 silicone liners or cupcakes liners on a muffin pan.
- In medium bowl, add sugar, apricot jam, oil, egg, vanilla essence, and carrot puree. Beat together with a handheld blender until combined and smooth.
- Add flour, baking powder, cinnamon, nutmeg, baking soda, and salt. Blend together just until combined and no flour streaks remain.
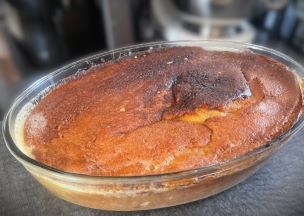
- Scoop the batter into the cupcake liners about ½ full. Bake for 18-22 minutes. Edges should be slightly pulled away from sides, the top will be golden brown and the centre should not be wet and jiggly. A toothpick inserted should come out clean or with moist crumbs.
- While the cupcakes are baking, prepare the simple syrup by boiling ⅓ cup of sugar and ⅓ cup of water until the sugar has dissolved.
- Once cupcakes are done, make holes in them with a toothpick and pour the simple syrup over all the cupcakes.
Notes
- I prefer silicone liners for this recipe as paper liners often detach when soaked.
- I prefer using smooth apricot jam, although any type of smooth jam is suitable.
- I like to pour custard on these cupcakes but if you prefer frosting here is my Cream Cheese Frosting Recipe.